Thursday, June 11, 2015

Father's Day Scribble Mug

I'm one of those moms that totally wants to do creative things, but at the same time, hates the mess, clean-up, and usually avoids all the energy involved. But... Father's Day is coming up and well geez, I guess I need to search Pinterest and find some crazy handprint, footprint, messy paint-like activity so he gets something homemade and special. (I totally scored last year with him being in daycare! ;) haha I didn't have to do a thing!)


I also added the flower that was done at daycare for Mother's Day. Cute because as a first time parents we were all like "Awwwww little feet", but lets be real, that is just more mess than its worth. I can only imagine them trying to get my 8 month old at the time to cooperate!

But then I remembered seeing a friend draw on mugs and sell them online. Now I know I am clearly not the first to come up with this idea, but for me, that's when the light bulb went off and I knew exactly what I wanted to do.

We have a play group that meets once a week in my neighborhood and I decided this was the perfect activity to host at my house since Father's Day is coming up. Boom... and now clearly I do not have to think about any other sort of activity to try on my own.

Supplies you will need:

  • Mugs (As you can see I spent a whooping 99 cents on these bad boys.)
  • Foam letters (I got these at the 99 cents store as well. There were about 156 letters a pack.)
  • Star stickers or contact paper to make other shapes, numbers, etc.
  • Sharpies (Okay here is the deal with Sharpies. You can use regular, or ceramic ones. If you use the regular ones you can only hand wash the mug, but if you use the ceramic ones, after you bake the mug, it will be dishwasher safe. )


Now onto the fun part...decorating! The play group is a bunch of 1 1/2- 2 year olds and yes...shocking I know...we let them use Sharpies! haha. (If you are concerned, use a smock or cut a small trash bag to make one. ;) ha!) Once we put the stickers on for our kiddos, we let them point to colors and reinforced what each was. My kid had a ball, and of course pointed to every shade of "boo", (blue).

After the kids colored on the mugs, peel off the foam letters and stickers. Bake at 350 for 30 minutes. Wait for mug to cool in the oven before taking it out. This allows the markers to set and become washable. (Remember though if you are using regular Sharpies, you can still only hand wash!)


This was prior to baking but the only chance I could snag before everyone at play group took their mug home to bake. We definitely had a lot of fun doing this and there was really no mess! My fav! ;)

What are some of the fun things you are planning for Father's Day?!?! I need ideas for next year!

Monday, May 11, 2015

Commitment

Gez, I haven't posted a single thing since my son was born. They say life just takes over, and boy they weren't kidding! We had a baby, I left my teaching job, and have moved. I've so missed blogging and have decided to make a commitment to start back up. Now is a good of a time as any seeing that I'm only subbing, yet still creating lessons, on the hunt for deals and steals, and on a new mission ---> EVERYTHING TODDLER!

My latest obsession is painting parties or playdates for kids. In February, we made these heart paintings, (yea I know that was months ago, but remember, it is only now that I am blogging about my commitment, lol). You can do this for anything though, and it is super easy! Here's what you'll need:

Canvas
Contact Paper
Paint
Brushes or Sponges
White Small Trash Bags (optional, I cut holes in them to make a smock, cheap and effective.)

There are a bunch other blogs and sites doing this same technique. I love this one who gives you step by step pictures and instructions:
Heart Art

Steps:
1. Cut the contact paper in the shape you desire. Peel off baking and place on canvas.
2. Paint canvas, and yes, you can go right over the contact paper!
3. Wait till it dries, and then peel off the contact paper to reveal your design!

You know you are loving the trash bag smock now! Keeping it super classy. ;)


Here were two of our own.... and remember these were done by a 1 1/2 and 2 year old!! Total perfection!


Hope you enjoyed this adorable idea. And make sure to keep checking back now that I am back in the swing of things!

Thursday, September 12, 2013

Place Value and Ways to Write a Number

Last week our class focused on place value and different ways to write a number. After doing a mimio lesson and some workbook pages we then read The True Story of the Three Little Pigs By Jon Scieszka. Students worked in groups to make their own houses using base ten blocks, and then on their own. We used the 3D blocks, but paper would work fine as well. Once they made their houses, they were instructed to trace the blocks on construction paper and figure out how much their house was worth. Here are some pictures of what they came up with:
I thought this one turned out cute, but she explained that she didn't count the windows and door as part of her base ten house which made more sense!

Another interesting take on a house. The student had mentioned that the party would be happening upstairs in what looks like the roof! Too cute!

After finishing up that Project we moved forward on different ways to write a number. Some of my colleagues and I use an apple that we created to show all the different ways. First though, we did and example up on the board:

Then we gave students a template and allowed them to choose their own number to represent in each part of the apple.
This one was my example, but the students really loved making their own. When they finished cutting out the apple, they had to trade it with someone to put their apple "puzzle" back together. It was after they tried a few different ones that we glued them down on construction paper.
You can get your own template of the apple by clicking here: Apple Template

And the finished product of a few of my colleagues and I:

Don't forget to get a copy of your own apple template above! What do you do to teach place value?


Wednesday, September 4, 2013

Small Moment Writing

In writing today we started working on small moments. We looked at the small idea instead of the big picture. It is something my second graders were familiar with, learning about the idea in first grade, but it's always challenging for them at the beginning of the year to narrow down their topic so much. We started off with a mini lesson using a mimio lesson. It reviewed what a small moment story was and allowed students to interact and figure out some details around a small moment. Here is the link if you have a mimio in your room: Small Moment Mimio Lesson

I also referred to a fabulous first grade website which had some really great ideas for introducing small moment stories: http://firstgradewow.blogspot.com/2012/10/catch-small-moment.html

Students were first allowed to make their "hats" to help their brains think of all the little small moment story ideas.


Next, I made my own recreation of her anchor chart and allowed students to brainstorm their own small moment ideas on post-it notes. We reviewed everyone's ideas and if they weren't small moment, as a class we helped narrow it down. 

Students then used some of the documents from the first grade website I mentioned above to write their own small moment story. They turned out pretty good for the first go around, and I was so surprised to see even some of my more reluctant writers adding some details!


I hope you are able to capture some small moment writing!

Monday, September 2, 2013

Welcome Back

Starting off the year is always stressful for me since I love already being in the swing of things, with routine and all. But I still get excited as every teacher does to meet my new students and kick start the year. I always have had a puppy themed room, but every year I try to switch things up a bit. I love how every year more and more things are being made by myself and others that I can add to make my room a little different. Here are just a few pics:
This is from last year, but I adored it so much. This year I have a surfing into second bulletin board.

I attached clothespins to the blue good day sign and from there, throughout the day students move their paw print cards up and down, based on their behavior/actions. You can purchase the polka dots signs, here on TPT: Behavior Clip Chart If they land on purple at the end of the day, I punch their card. These are free: PAWS-ITIVE Behavior Punch Cards

The writing process. The Writing Process Posters

This is the door leading into my classroom. Of course I had to put my own pup, Sawyer, on there because is the inspiration behind my room! ;)

Sadly, I have one tiny window due to my room being the tornado room, so I tried to spice things up with some heart garland I made. I just used string and cut out hearts to string down from the ceiling. The hearts sparkle when the sunlight hits, so it helps make things a little brighter!

Awesome target score. The butterflies are 3D room decals, and the best part is they actually stick without me putting a nail in the wall! Blue sticky tack is holding these up!


I also printed out a sound chart for this year. I have a super sweet, yet super chatty class, so I am hoping this will help. Sound Check Chart

I hope everyone heading back to school is ready to go! Here's to the start of a great year!

Saturday, August 10, 2013

Once Upon A Time Storybook Baby Shower


The teacher in me came out while planning my baby shower and I couldn't think of a better idea then using a storybook theme. It was such a wonderful event, that I had to share, especially because I love this idea even for a school picnic, or party!

My girlfriend is a talented graphic designer and whipped up these adorable invites.


Upon entering, guests were asked to fill out an envelope and sign a Lady and the Tramp journal I had purchased from Etsy. It had the whole story, along with blank pages so guests could leave the baby or I a message.
 The Savory...

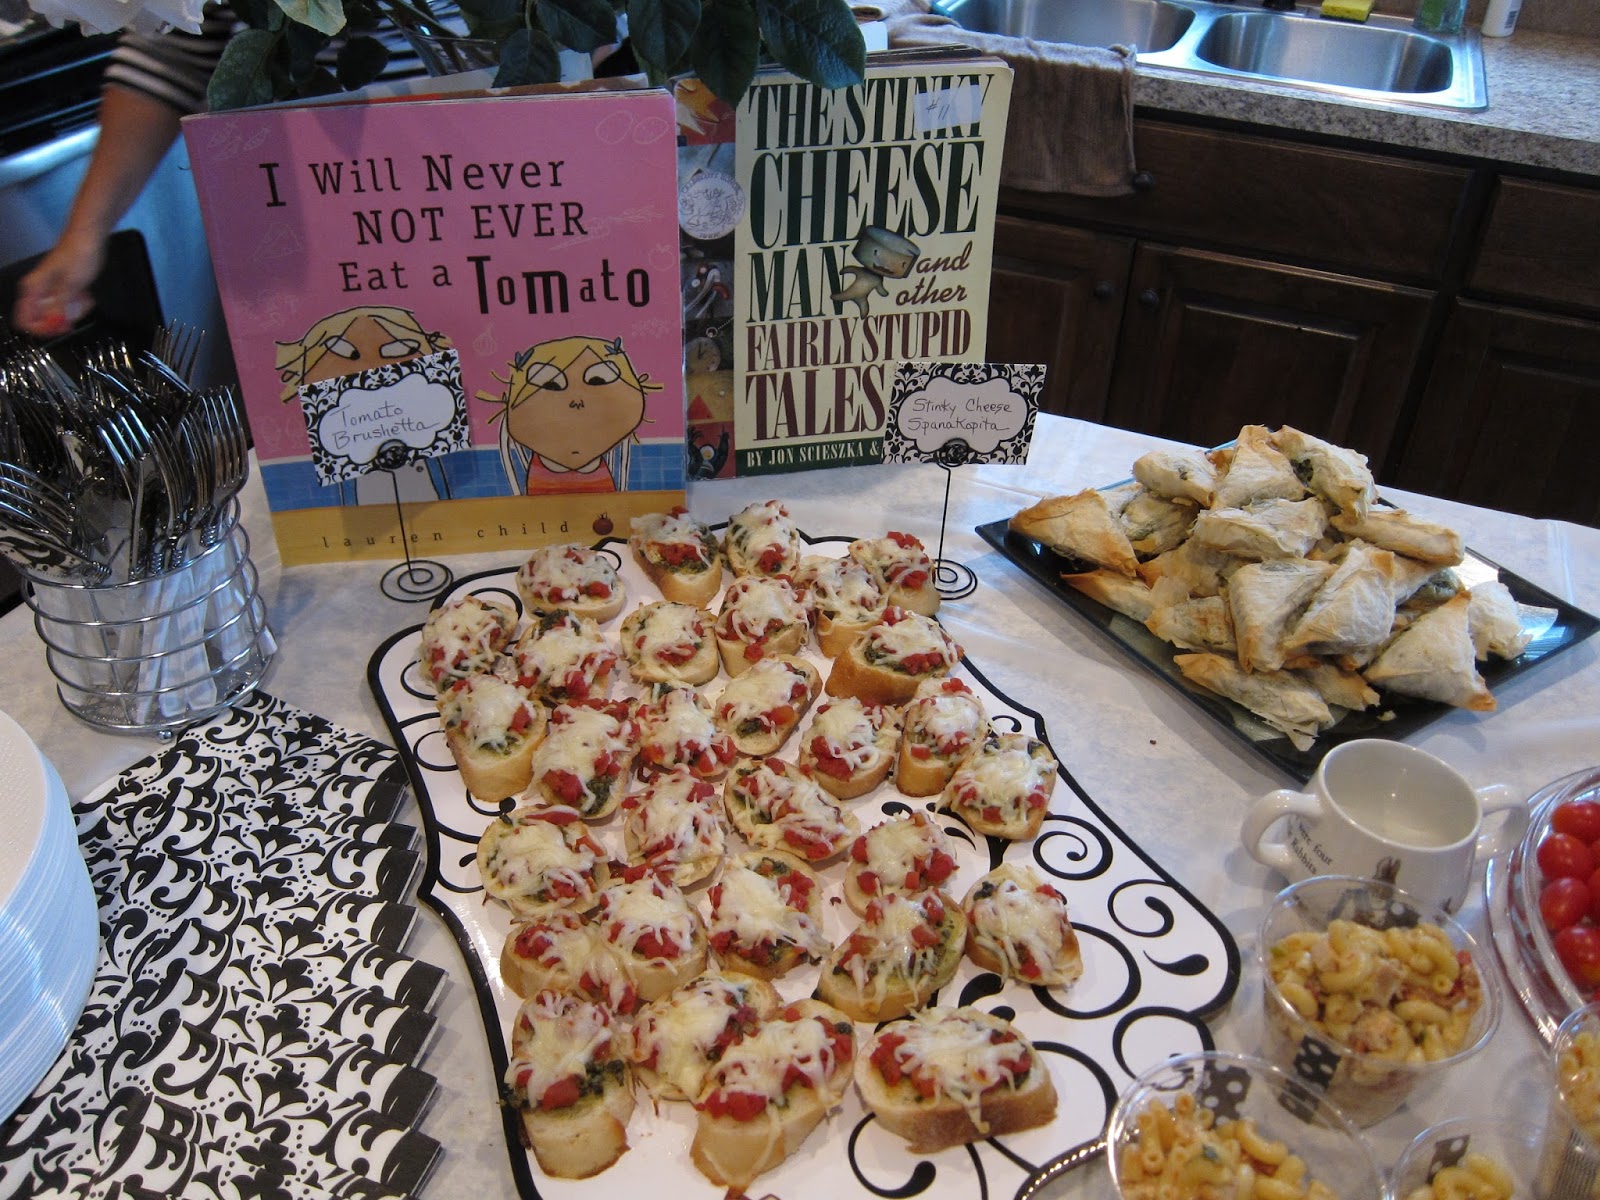
Tomato Brushetta, Stinky Cheese Spanakopita

Mr. McGregor Veggies, Bacon Wrapped Dogs, Green Egg and Ham Frittatas, and Bella Notte Pasta Salad.

 The Sweet...

I Love You Carrot Cake

Chocolate Velvet Brownies

Kitten's First Full Moonpies

Hungry Caterpillar Fruit and Dip


To end off the event, guests were given favors and Dr. Seuss bookmarks. If you give a guest a cookie... They will remember all the fun they had at Fallon's baby shower! Thank you for celebrating with us!

Below is the link to a fabulous blog that i got the bookmarks from! http://www.simpleasthatblog.com

We also played a name that storybook game, which if you are interested, please leave your email in the comments and I would be more than happy to send you what I came up with! 

And in true storybook fashion, I guess I should close this post with The End...


Friday, May 31, 2013

End of the Year Author's Tea

So I started this blog, and I haven't been very dedicated to keeping it up and really starting it. Now that the year has wrapped up, I feel guilty that I haven't been blogging since my students have done such amazing things this year. So, over the summer, I have made a promise to start posting more about all the fabulous lessons and projects we did!

Ok now on to the Author's Tea. Students made invites for their parents which were little teapots and when you pulled up the top, it showed all the information! (Sorry I don't have the picture for you, but will post the file shortly that I made!)

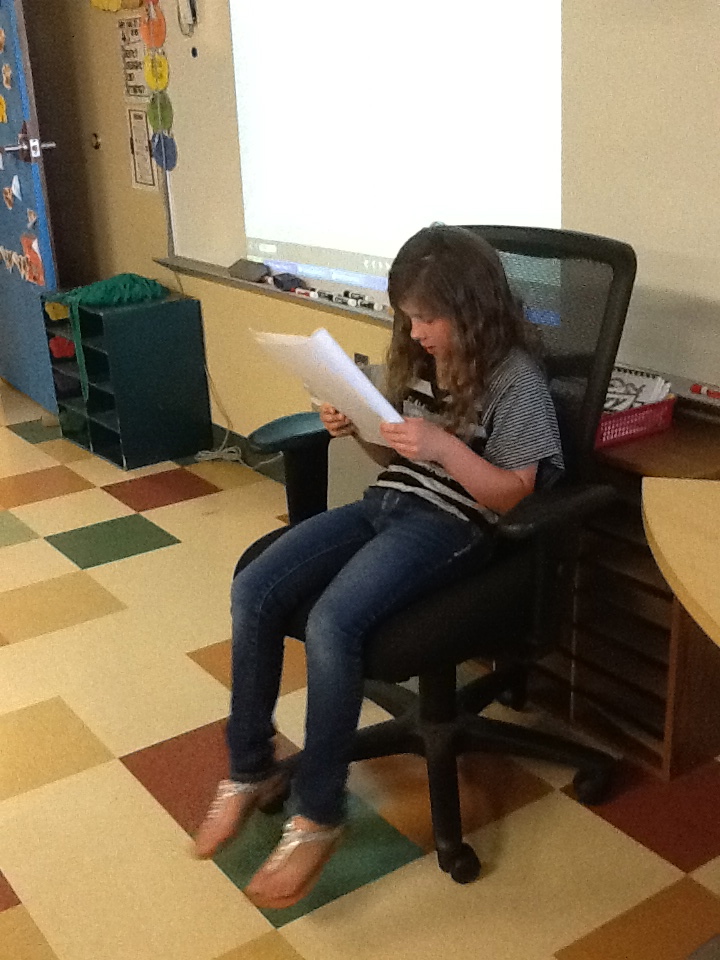
The purpose of the tea is to showcase the students writing and other work from throughout the year. Parents and other staff members are invited and the students each get to read one written piece, and then show their work. Everyone is always excited about this because its a proud moment and includes lots of fun activities. We made end of the year summer writing portraits, thanks to Third Grade Love for providing the sunglass template: http://thirdgradelove.blogspot.com/2012/04/end-of-year-presentation.html


OK, this was just us having a little fun after we made the glasses. The kids thought it was hysterical at how big and cool they were!


I gave the students a few different writing prompts to choose from about summer:
1. What are your favorite things to do during the summertime?
2. Tell me about the best vacation/trip you took during the summer.
3. What is something that you would like to do this summer?

My second graders really took off with this and we tapped them to the back of their chairs. 

We also made 3D self portraits which sat on their desks:


 We put a little blurb about the author underneath their "dolls" which I had been calling them. I used examples from Judy Blume and a few others to show how every author writes a little bit about them at the end of their books.

The picture doesn't show it, but on the day of the tea, students read one book they wrote, while another operated the scanned book from my computer. I use youblisher which is an awesome site to publish work in color online and it is super easy!
Check out one of the books that is posted on youblisher:

Overall, the Author's Tea was a great end of the year activity and the parents and staff who came were very impressed with all the kids work which was placed on their desks and they could view after everyone read. (It was also a great way for them to take it all home when it was over so the students didn't have to carry it on the bus! ha!)

I hope you all are having a good end of the year. What are some ways you wrap up everything?